Growing Chives From Seed
Chives are hardy perennial herbs that can be grown from seed for a long-lasting supply of mild onion-flavored leaves. Seedlings begin slowly compared with many annual herbs, but established clumps become dependable plants that can be divided, harvested repeatedly, and grown in garden beds or containers.
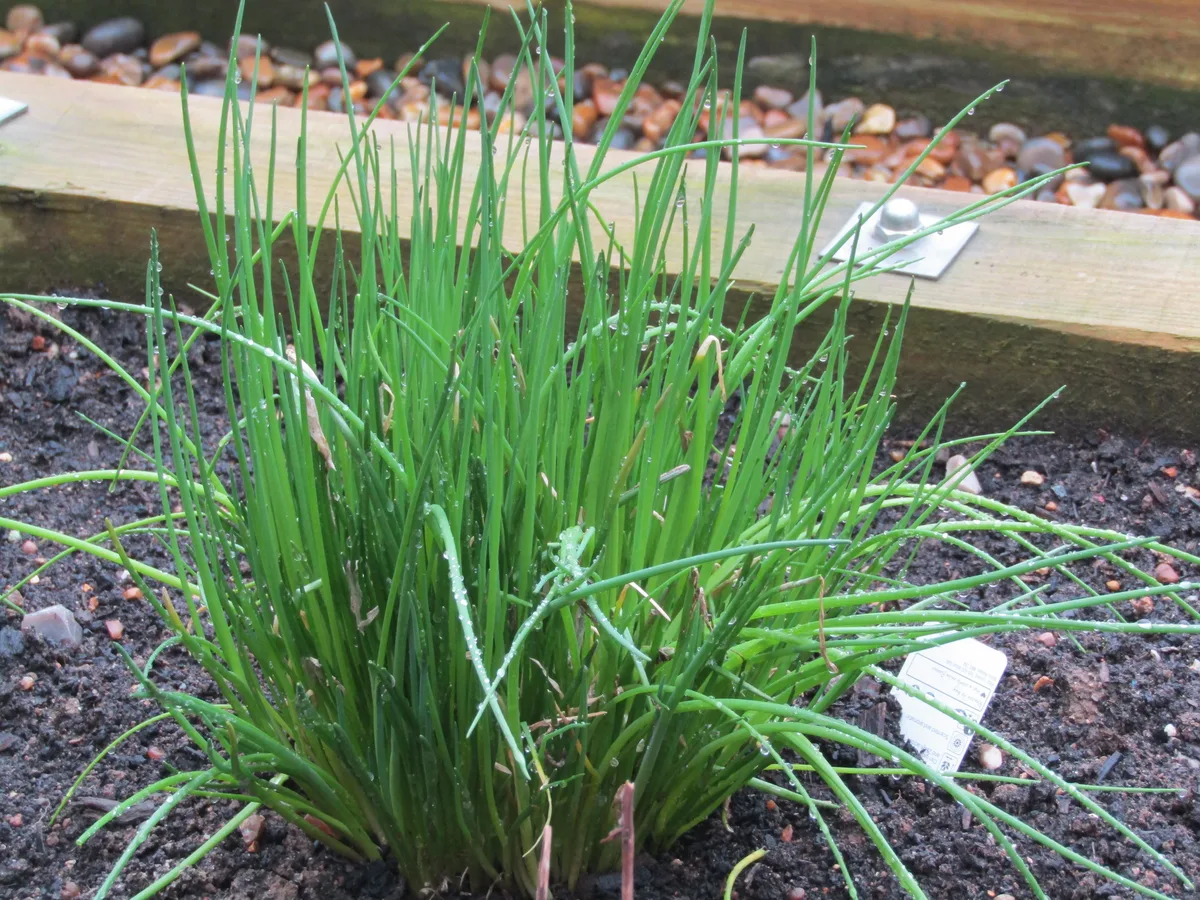
,_Northrepps,_Cromer.JPG)
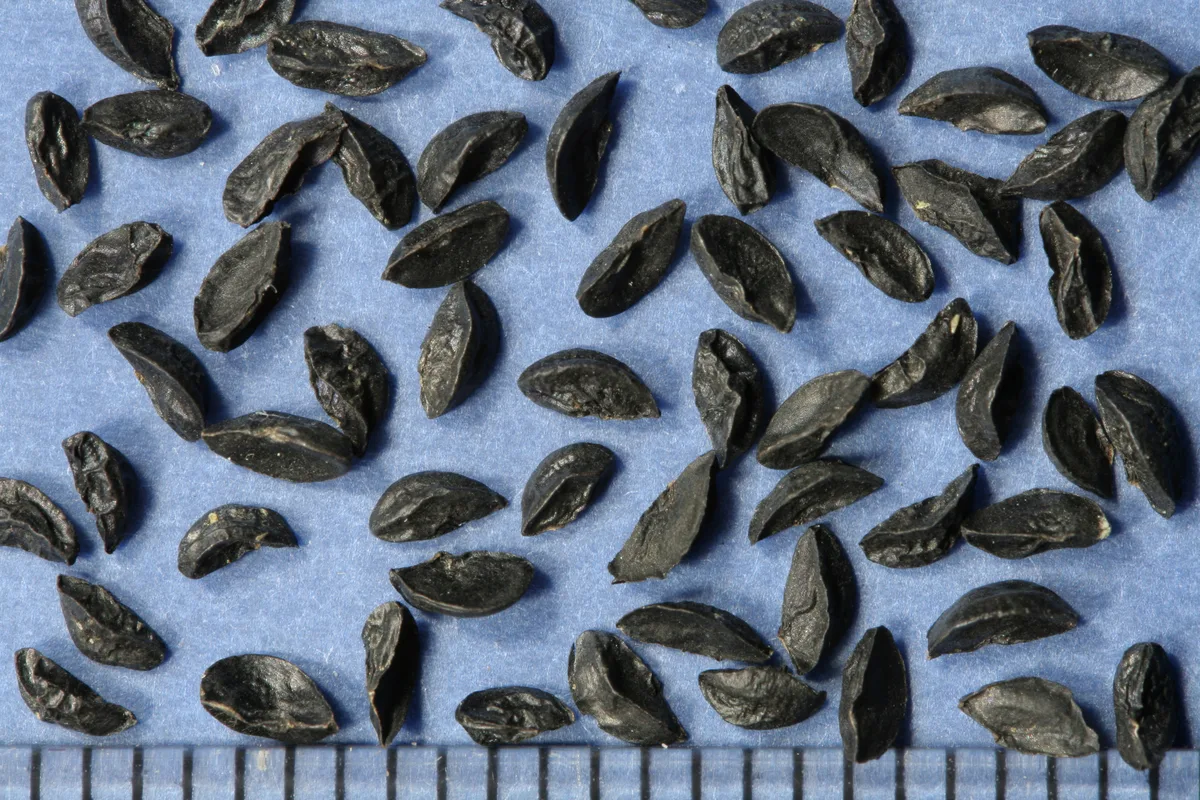

Explore the Chives plant profile →
On this page
Choose a chive type
Choose a Chive Type
Common chives and garlic chives differ in flavor, leaf shape, flower color, and growth habit. Confirm which type you are planting.
Use Fresh Seed
Fresh seed generally gives more dependable germination than very old seed stored under poor conditions.
Start Indoors for Earlier Plants
Indoor sowing can give slow-growing seedlings a head start before they are moved into the garden.
Use a Clean Seed-Starting Mix
A light, well-drained mix keeps small roots supplied with moisture without becoming dense or waterlogged.
Sow seeds
Sow According to Packet Directions
Follow the supplier's recommended planting depth rather than burying small chive seed deeply.
Keep the Seed Zone Moist
Maintain steady moisture during germination, especially near the surface where small seed can dry quickly.
Provide Strong Light After Emergence
Young chives need bright light to avoid weak, floppy growth indoors.
Keep Indoor Seedlings Cool Enough to Stay Sturdy
Excessive warmth combined with weak light can encourage soft, stretched growth. Give seedlings suitable light and stable growing conditions.
Care for seedlings
Be Patient With Thin Seedlings
New chive seedlings naturally begin as narrow grass-like leaves and may look delicate while roots establish.
Grow Seedlings in Small Clumps
Chives are often grown as groups rather than isolated single plants, provided overcrowding is not severe.
Thin Excessive Crowding
If seedlings form an extremely dense mat, divide or thin them so roots have room to develop.
Pot Up When Roots Become Crowded
If seedlings remain indoors for a long period, move crowded clumps into larger containers before roots become severely restricted.
Transplant outdoors
Harden Off Before Transplanting
Gradually expose indoor seedlings to outdoor sunlight, wind, and temperature changes before permanent planting.
Choose a Sunny Site
Chives generally grow well in strong light, though they can tolerate some partial shade.
Use Well-Drained Soil
Established plants tolerate moisture but should not remain in continuously saturated ground.
Add Compost Where Needed
Finished compost can improve soil structure and provide organic matter before planting.
Space Clumps for Expansion
Chive plants gradually widen as new shoots form. Leave enough room for established clumps to develop.
Water During Establishment
Young transplants need dependable moisture while roots grow into surrounding soil.
Care for clumps
Water Established Plants as Needed
Once rooted, chives are relatively resilient, but prolonged drought can reduce leaf quality and growth.
Use Mulch
A light mulch can reduce weeds, conserve moisture, and moderate soil temperature around established clumps.
Keep Mulch Away From the Crown
Avoid burying the base of the plant beneath a heavy layer of wet mulch. Keep the crown visible and well aerated.
Control Weeds Early
Grass-like weeds can be difficult to distinguish from young chives, so careful early weeding is helpful.
Harvest leaves
Harvest Leaves Without Removing the Whole Plant
Cut leaves and allow the rooted crown to remain so new growth can continue.
Leave Enough Foliage for Recovery
Avoid repeatedly stripping weak plants completely. Established clumps recover better when enough healthy growth remains.
Harvest Older Outer Leaves First
Taking mature leaves while leaving younger central growth can help the plant continue producing steadily.
Expect Seasonal Dormancy in Cold Climates
Chives may die back above ground during winter and return from the roots when favorable conditions resume.
Allow Some Plants to Flower
Chive flowers attract pollinators and can be left on selected clumps when seed or ornamental bloom is desired.
Remove Flowers if Leaf Production Is the Priority
Gardeners focused entirely on tender leaves may remove flower stalks and continue harvesting vegetative growth.
Divide and maintain
Divide Mature Clumps
Older clumps can become crowded. Digging and dividing them periodically provides new plants and renews growing space.
Replant Divisions Promptly
Keep divided roots from drying excessively and replant them into prepared soil with good root contact.
Containers
Grow Chives in Containers
Chives adapt well to pots with drainage holes, adequate root space, and regular watering.
Check Containers During Heat
Potting mix can dry rapidly in warm weather, especially in small containers exposed to full sun.
Refresh Container Plants When Crowded
Dense container clumps can be divided and replanted into fresh growing mix when roots fill the pot.
Watch for Pests and Disease
Chives are generally easy to grow, but stressed or crowded plants can still develop pest or disease problems.
Save seed
Save Seed After Flowers Mature
If saving seed, allow selected flower heads to dry and collect mature seed before it scatters.
Dry Saved Seed Before Storage
Allow harvested seed to finish drying in a protected location before placing it into a sealed storage container.
Label Saved Seed
Record the chive type, variety if known, and harvest year before storing dry seed.
Practical Takeaway
Grow chives from seed with steady moisture and strong light, transplant established clumps into well-drained soil, harvest leaves while leaving the crown intact, and divide mature plants as they expand.