Saving Pea Seeds
Peas are among the simplest vegetable seeds to save because most garden peas are strongly self-pollinating and mature inside dry pods. The main requirements are choosing healthy plants, leaving pods on the vines long past the fresh-eating stage, drying seed thoroughly, and keeping varieties and harvest years clearly labeled.
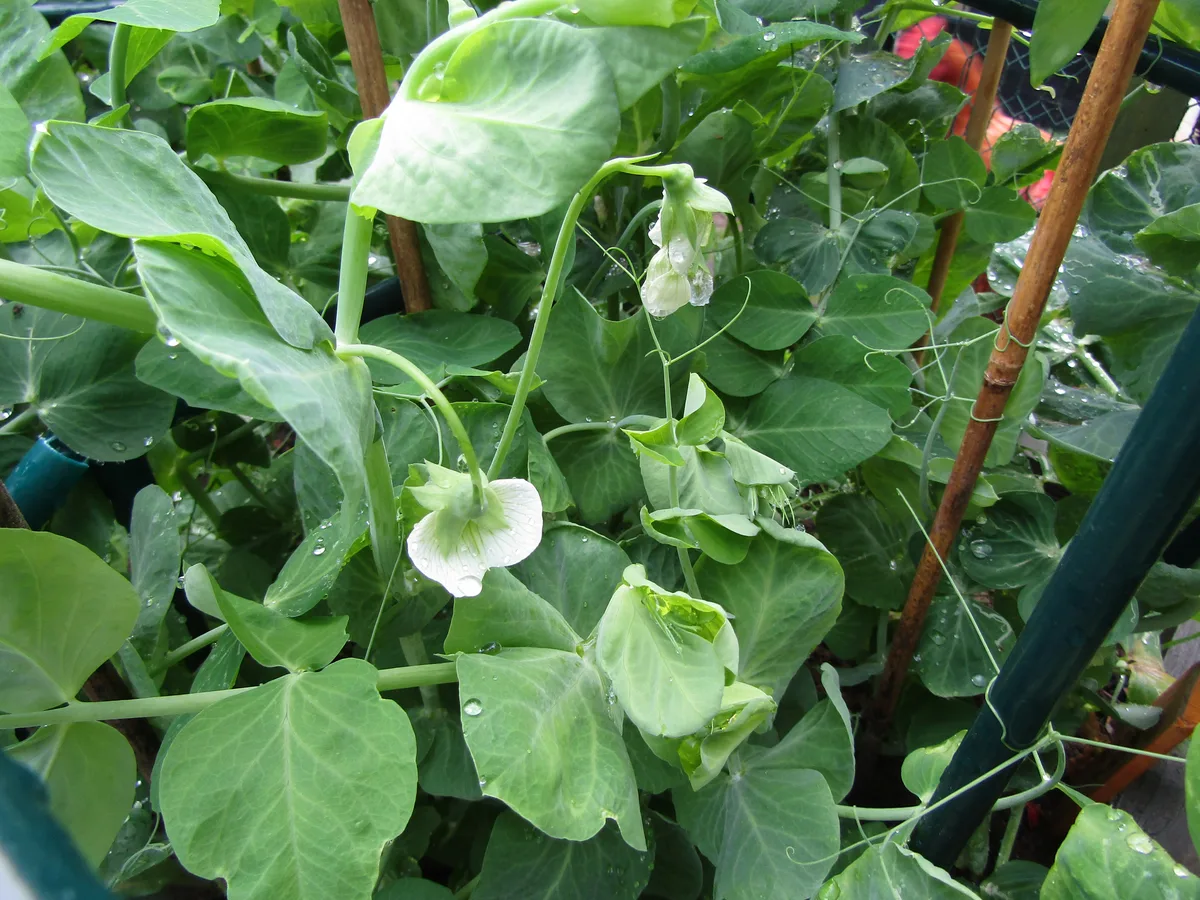
_in_flower,_Trimingham.JPG)

Explore the Pea plant profile →
On this page
- Choose an Open-Pollinated Variety
- Expect Hybrid Offspring to Vary
- Select Healthy Seed Plants
- Select for Flavor and Productivity
- Select for Disease Tolerance
- Understand Pea Pollination
- Recognize That Crossing Can Still Occur
- Use Isolation When Purity Matters
- Label Seed Plants Early
- Leave Pods to Mature Fully
- Expect Pods to Become Tough
- Watch Pods Change Color
- Check Seed Firmness
- Do Not Harvest Too Early
- Harvest During Dry Weather
- Harvest Before Pods Shatter
- Cut or Pull Whole Vines if Weather Threatens
- Provide Good Airflow During Final Drying
- Protect Drying Seed From Rain
- Protect Seed From Rodents
- Shell Pods After They Dry
- Use a Clean Container
- Remove Chaff
- Inspect for Insect Damage
- Remove Moldy Seed
- Dry Shelled Seed Thoroughly
- Do Not Seal Damp Peas
- Label the Storage Container
- Keep Varieties Separate
- Keep Years Separate
- Store Cool and Dry
- Check Stored Seed Periodically
- Test Older Seed
- Use Older Viable Seed First
- Save From Several Plants
- Keep Selection Records
- Grow Out Saved Seed
- Practical Takeaway
Choose an Open-Pollinated Variety
Open-pollinated peas are generally the easiest choice when the goal is saving seed that resembles the parent crop.
Expect Hybrid Offspring to Vary
Seed from hybrid peas may produce plants with different pod type, maturity, height, flavor, or productivity.
Select Healthy Seed Plants
Choose vigorous plants that show the traits you want to preserve.
Select for Flavor and Productivity
Evaluate peas during the eating stage before deciding which plants will be left for seed.
Select for Disease Tolerance
Favor healthy plants when disease pressure is present and avoid heavily affected seed parents when practical.
Understand Pea Pollination
Garden peas are largely self-pollinating, often before flowers open fully.
Recognize That Crossing Can Still Occur
Occasional cross-pollination is possible, so strict purity should not be assumed automatically.
Use Isolation When Purity Matters
Greater separation between varieties can reduce the already limited crossing risk.
Label Seed Plants Early
Mark selected rows or vines so mature seed pods are not accidentally harvested for eating.
Leave Pods to Mature Fully
Seed peas must remain on the vine much longer than fresh peas harvested for the kitchen.
Expect Pods to Become Tough
Maturing seed pods become fibrous, dry, and unsuitable for fresh eating.
Watch Pods Change Color
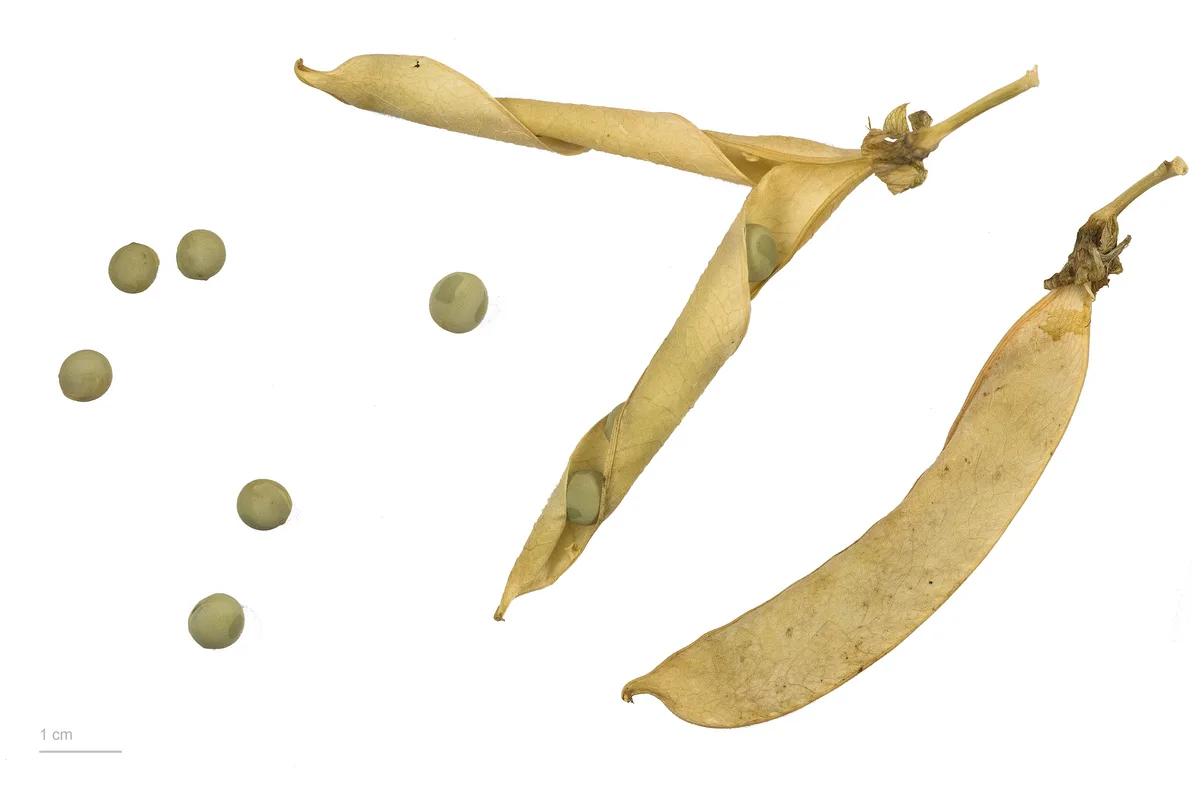
Pods generally become pale, tan, or brown as seed reaches maturity.
Check Seed Firmness
Mature peas should be firm and hard rather than soft and juicy.
Do Not Harvest Too Early
Seed that looks full size can still contain excess moisture and incomplete development.
Harvest During Dry Weather
Dry pods are easier to handle and less likely to mold.
Harvest Before Pods Shatter
Very dry pods can split open and scatter mature peas.
Cut or Pull Whole Vines if Weather Threatens
Nearly mature plants can sometimes finish drying under cover when prolonged rain is expected.
Provide Good Airflow During Final Drying
Spread vines or pods loosely rather than piling them into a damp mass.
Protect Drying Seed From Rain
Repeated wetting can delay drying and increase mold risk.
Protect Seed From Rodents
Dry peas are attractive to mice and other animals, so use a secure drying location.
Shell Pods After They Dry
Dry pods usually open easily by hand.
Use a Clean Container
Collect seed in a labeled bowl, tray, or bag so varieties do not become mixed.
Remove Chaff
Separate pod fragments, stems, and other plant debris from the peas.
Inspect for Insect Damage
Discard seed with obvious holes, larvae, or severe feeding damage.
Remove Moldy Seed
Do not store visibly moldy or decaying peas with a clean seed lot.
Dry Shelled Seed Thoroughly
Seed can retain internal moisture even after pods feel dry.
Do Not Seal Damp Peas
Moisture trapped in storage can cause mold or rapid viability loss.
Label the Storage Container
Record variety, harvest year, source, and any useful selection notes.
Keep Varieties Separate
Many pea seeds look similar once shelled, making labels important.
Keep Years Separate
Separate harvest years simplify age tracking and germination testing.
Store Cool and Dry
Stable low-humidity conditions help preserve pea seed viability.
Check Stored Seed Periodically
Look for insects, condensation, unusual odors, or other storage problems.
Test Older Seed
A germination test can show whether an older lot still performs well enough for planting.
Use Older Viable Seed First
Rotating seed inventory helps reduce waste from aging lots.
Save From Several Plants
Using multiple healthy plants preserves more diversity than relying on one vine.
Keep Selection Records
Record flavor, pod quality, plant height, maturity, disease response, and productivity.
Grow Out Saved Seed
The next generation helps confirm that the variety remains true to type.
Practical Takeaway
Save pea seed by selecting healthy plants, leaving pods on the vines until fully mature and dry, shelling and cleaning carefully, drying the peas thoroughly, and storing each labeled variety and year in cool dry conditions.